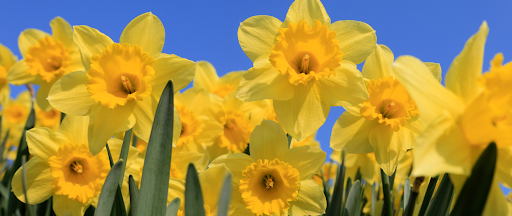
Few things mark the coming of Spring like the cheerful yellow blooms of daffodils. As a symbol of rebirth and new beginnings in many cultures, daffodils (Narcissus) originated in the meadows and woods of southern Europe and North Africa. Luckily for all of us, the hardy perennial flowers have found their way into gardens around the world. Daffodils are not only stunning to look at but also incredibly resilient, capable of thriving in a variety of climate conditions. Best of all, they are relatively low-maintenance, making them perfect for both gardening novices and experts alike.
In this blog post, we'll dive into the world of daffodils and offer a comprehensive guide on how to plant daffodil bulbs. We'll go over the ideal conditions, the steps involved, and even introduce you to tools that can make the process even easier: Power Planter earth augers.
What are Daffodil Bulbs?
A daffodil bulb is essentially a self-contained plant. It houses all the nutrients and genetic material needed for the plant to grow and bloom in a structure that resembles a shallot or an onion. The outer layers protect the inner flower and leaves. Once planted, the bulb will produce roots that draw water and additional nutrients from the soil, allowing the plant to grow and eventually bloom.

The Flower
Daffodil flowers are composed of a central trumpet-shaped structure called a "corona," surrounded by six petal-like "tepals." The colors range from the traditional sunny yellow to white, orange, and even pink in some varieties.
When to Plant Daffodil Bulbs
The best time to plant daffodil bulbs is in the fall, around 2 to 4 weeks before the first hard frost. This gives the bulbs enough time to establish roots before winter. In most parts of the U.S., this would be from September to October. However, local conditions may vary, so it's best to consult your local gardening center for specific recommendations. If you’re still unsure, we have some tips to help you in the fall.
Starting Daffodils Indoors
If you want to get a head start on the growing season or enjoy early blooms, you can also start your daffodil bulbs indoors. The process involves planting the bulbs in pots and providing a controlled environment for them to sprout before transplanting them outdoors. This approach is particularly beneficial for those in regions with late springs or unpredictable weather conditions.
Why Start Daffodils Indoors?
Starting daffodils indoors can be beneficial for several reasons:
Early Blooms: By starting indoors, you can enjoy daffodil blooms earlier than the natural outdoor season.
Climate Control: Indoor starting allows you to control the climate and avoid late frosts that could damage young plants.
Ease of Care: It's easier to care for the bulbs in a controlled environment, especially if you live in an area with extreme weather conditions.
To successfully start daffodils indoors, begin by choosing firm, healthy bulbs and planting them pointy end up in well-draining soil in pots with drainage holes. Label the pots and place them in a cool, dark location for 12-16 weeks to mimic winter chilling. Once sprouts appear, move the pots to a sunny spot, keeping the soil moist and rotating regularly. To transition your daffodils outdoors, wait until after the last frost and acclimate the plants gradually by exposing them to outdoor conditions for increasing hours over a week. Transplant at the same depth as they were in the pots and water thoroughly. Note that indoor-started daffodils may be less robust than those started outdoors, and be cautious of transplant shock by handling roots carefully.
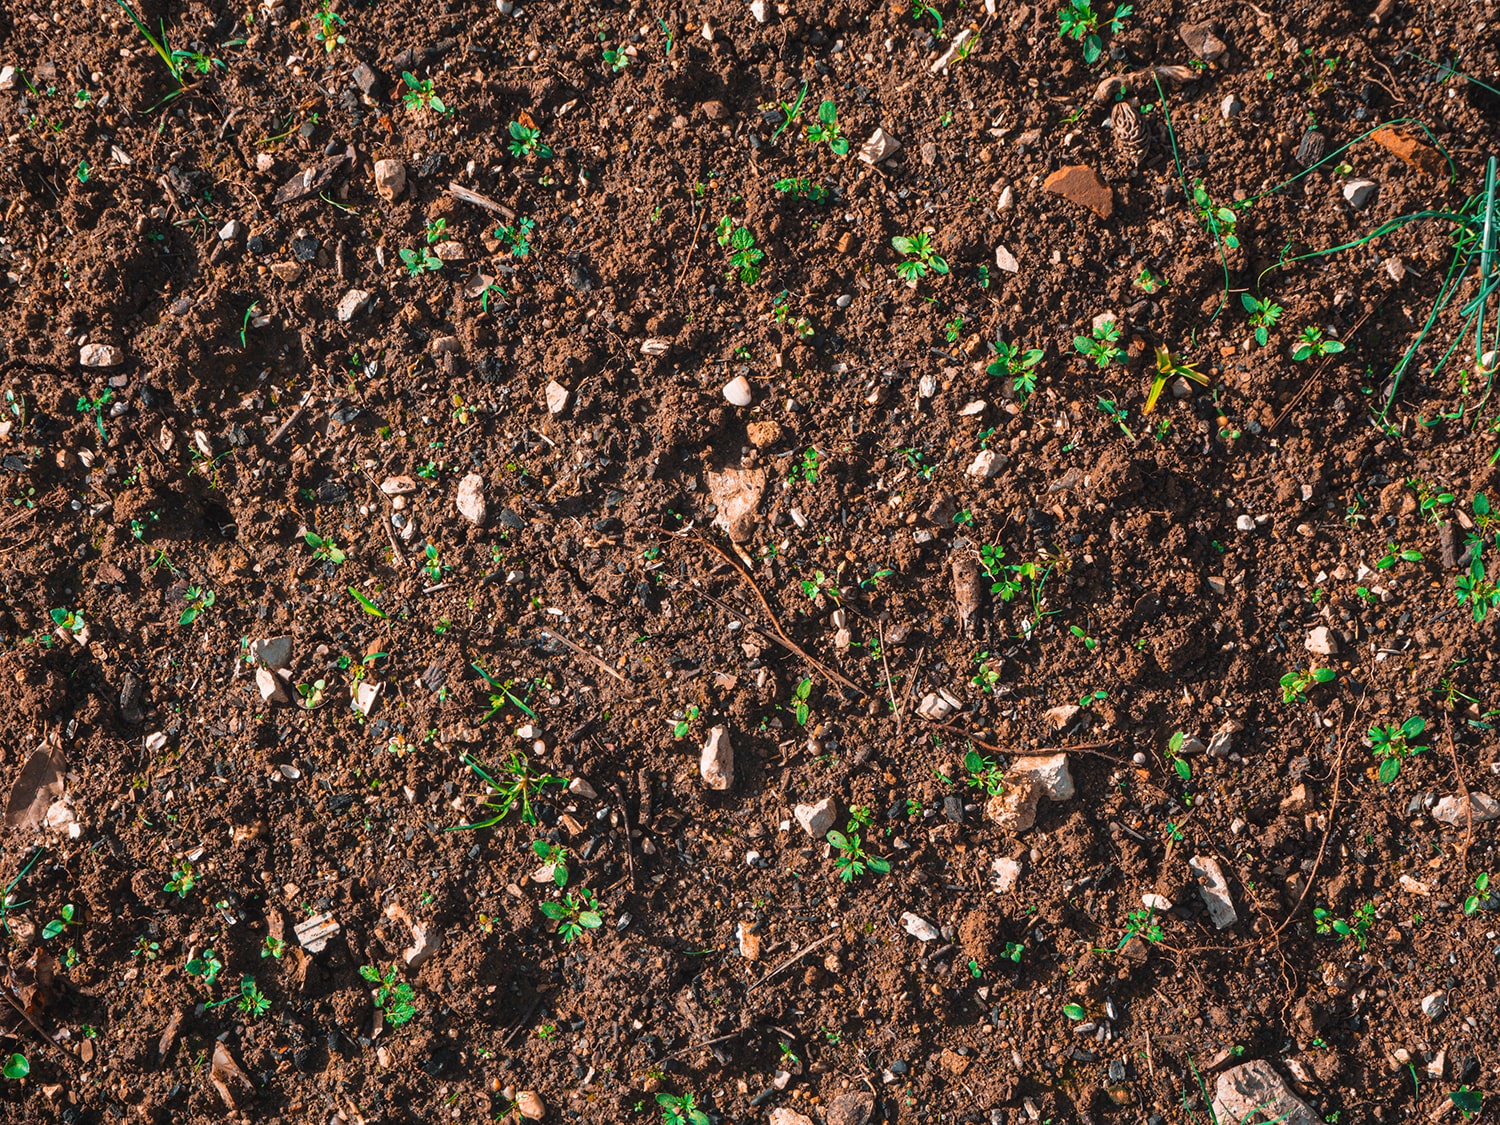
Ideal Soil Conditions for Daffodils
Daffodils prefer well-drained soil rich in organic matter. The ideal pH range is between 6.0 and 7.0. Before planting, it's advisable to perform a soil test to determine its pH and nutrient levels. You can find soil pH test strips at most garden centers and home improvement stores.

Step-By-Step Guide to Planting Daffodil Bulbs
Tools and Materials Needed
- Daffodil bulbs
- Gardening gloves
- Digging tool
- Compost or well-rotted manure
- Measuring tape
- Watering can
Steps
- Select the Planting Site: Scout your yard or garden to find the ideal location for your daffodils. Look for an area that has well-draining soil and receives at least 6 hours of direct sunlight each day. The quality of the site will significantly impact the health and blooming of your daffodils.
- Prepare the Soil: Before planting, take time to prep the soil for optimal results. Using a garden fork or tiller, loosen the soil to a depth of 12 to 18 inches. Enrich the soil by mixing in organic matter like compost or well-rotted manure, which will improve both drainage and fertility, providing a better environment for the bulbs to thrive.
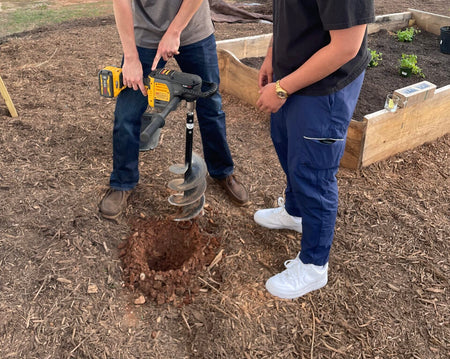
- Dig Holes: Arguably the most important step. To dig holes for the bulbs, ensure they are about 3 times the height of the bulb. For most types of daffodils, a hole that is 6 to 8 inches deep should work just fine. The depth ensures that the bulbs have adequate soil coverage, which promotes better root development and stability.
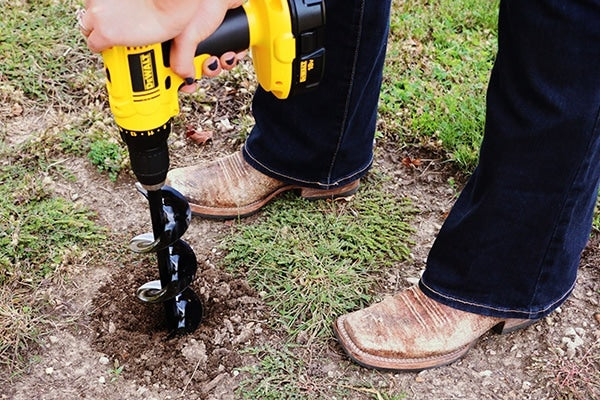
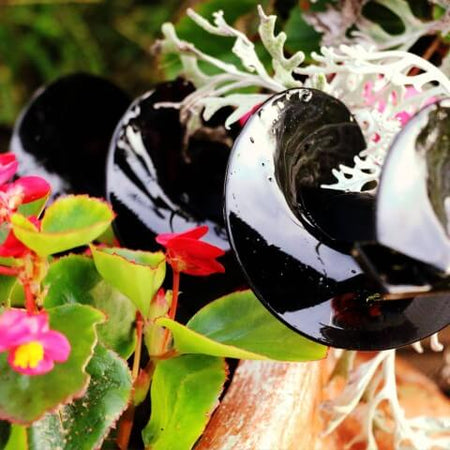
Now for the twist. If you're planning to plant a large number of daffodil bulbs, a bulb auger from Power Planter can be a game-changer. These tools can quickly and efficiently dig holes for your bulbs, saving you both time and backache. To use an earth auger, simply attach it to a drill, position it where you want your hole, and start drilling. It's as simple as that!

- Place the Bulbs: Gently place each daffodil bulb into its prepared hole, making sure the pointy end faces upwards. This is the growing tip, and orienting it correctly is essential for proper growth. Space the bulbs 4 to 6 inches apart to allow room for future growth and proper air circulation.
- Cover and Tamp: Backfill each hole with the loosened soil. Gently tamp down the soil using your hand or the back of a trowel to remove any air pockets, which could cause the bulbs to shift or lead to root rot.
- Water: Once all bulbs are planted and covered, give the area a good watering. This not only settles the soil around the bulbs but also triggers the bulbs to start the rooting process, which is essential for them to establish themselves quickly in their new home.
- Mulch: As an optional but beneficial step, apply a 2 to 3-inch layer of organic mulch like straw or wood chips over the planting area. Mulch helps to retain soil moisture, suppress weeds, and regulate soil temperature, all of which contribute to the well-being of your newly planted daffodil bulbs.
Make Planting Easier with Earth Augers
Planting daffodil bulbs is a rewarding experience that pays off with stunning spring blooms. With the right conditions and care, your daffodils will thrive and multiply, gracing your garden with beauty for years to come. And if you're looking for a way to make the process even easier, don't overlook the benefits of using an earth auger. Happy gardening!