Soil Moisture Probe Augers

Availability
Hole Width

Showing results 1-2 of 2 filtered products.

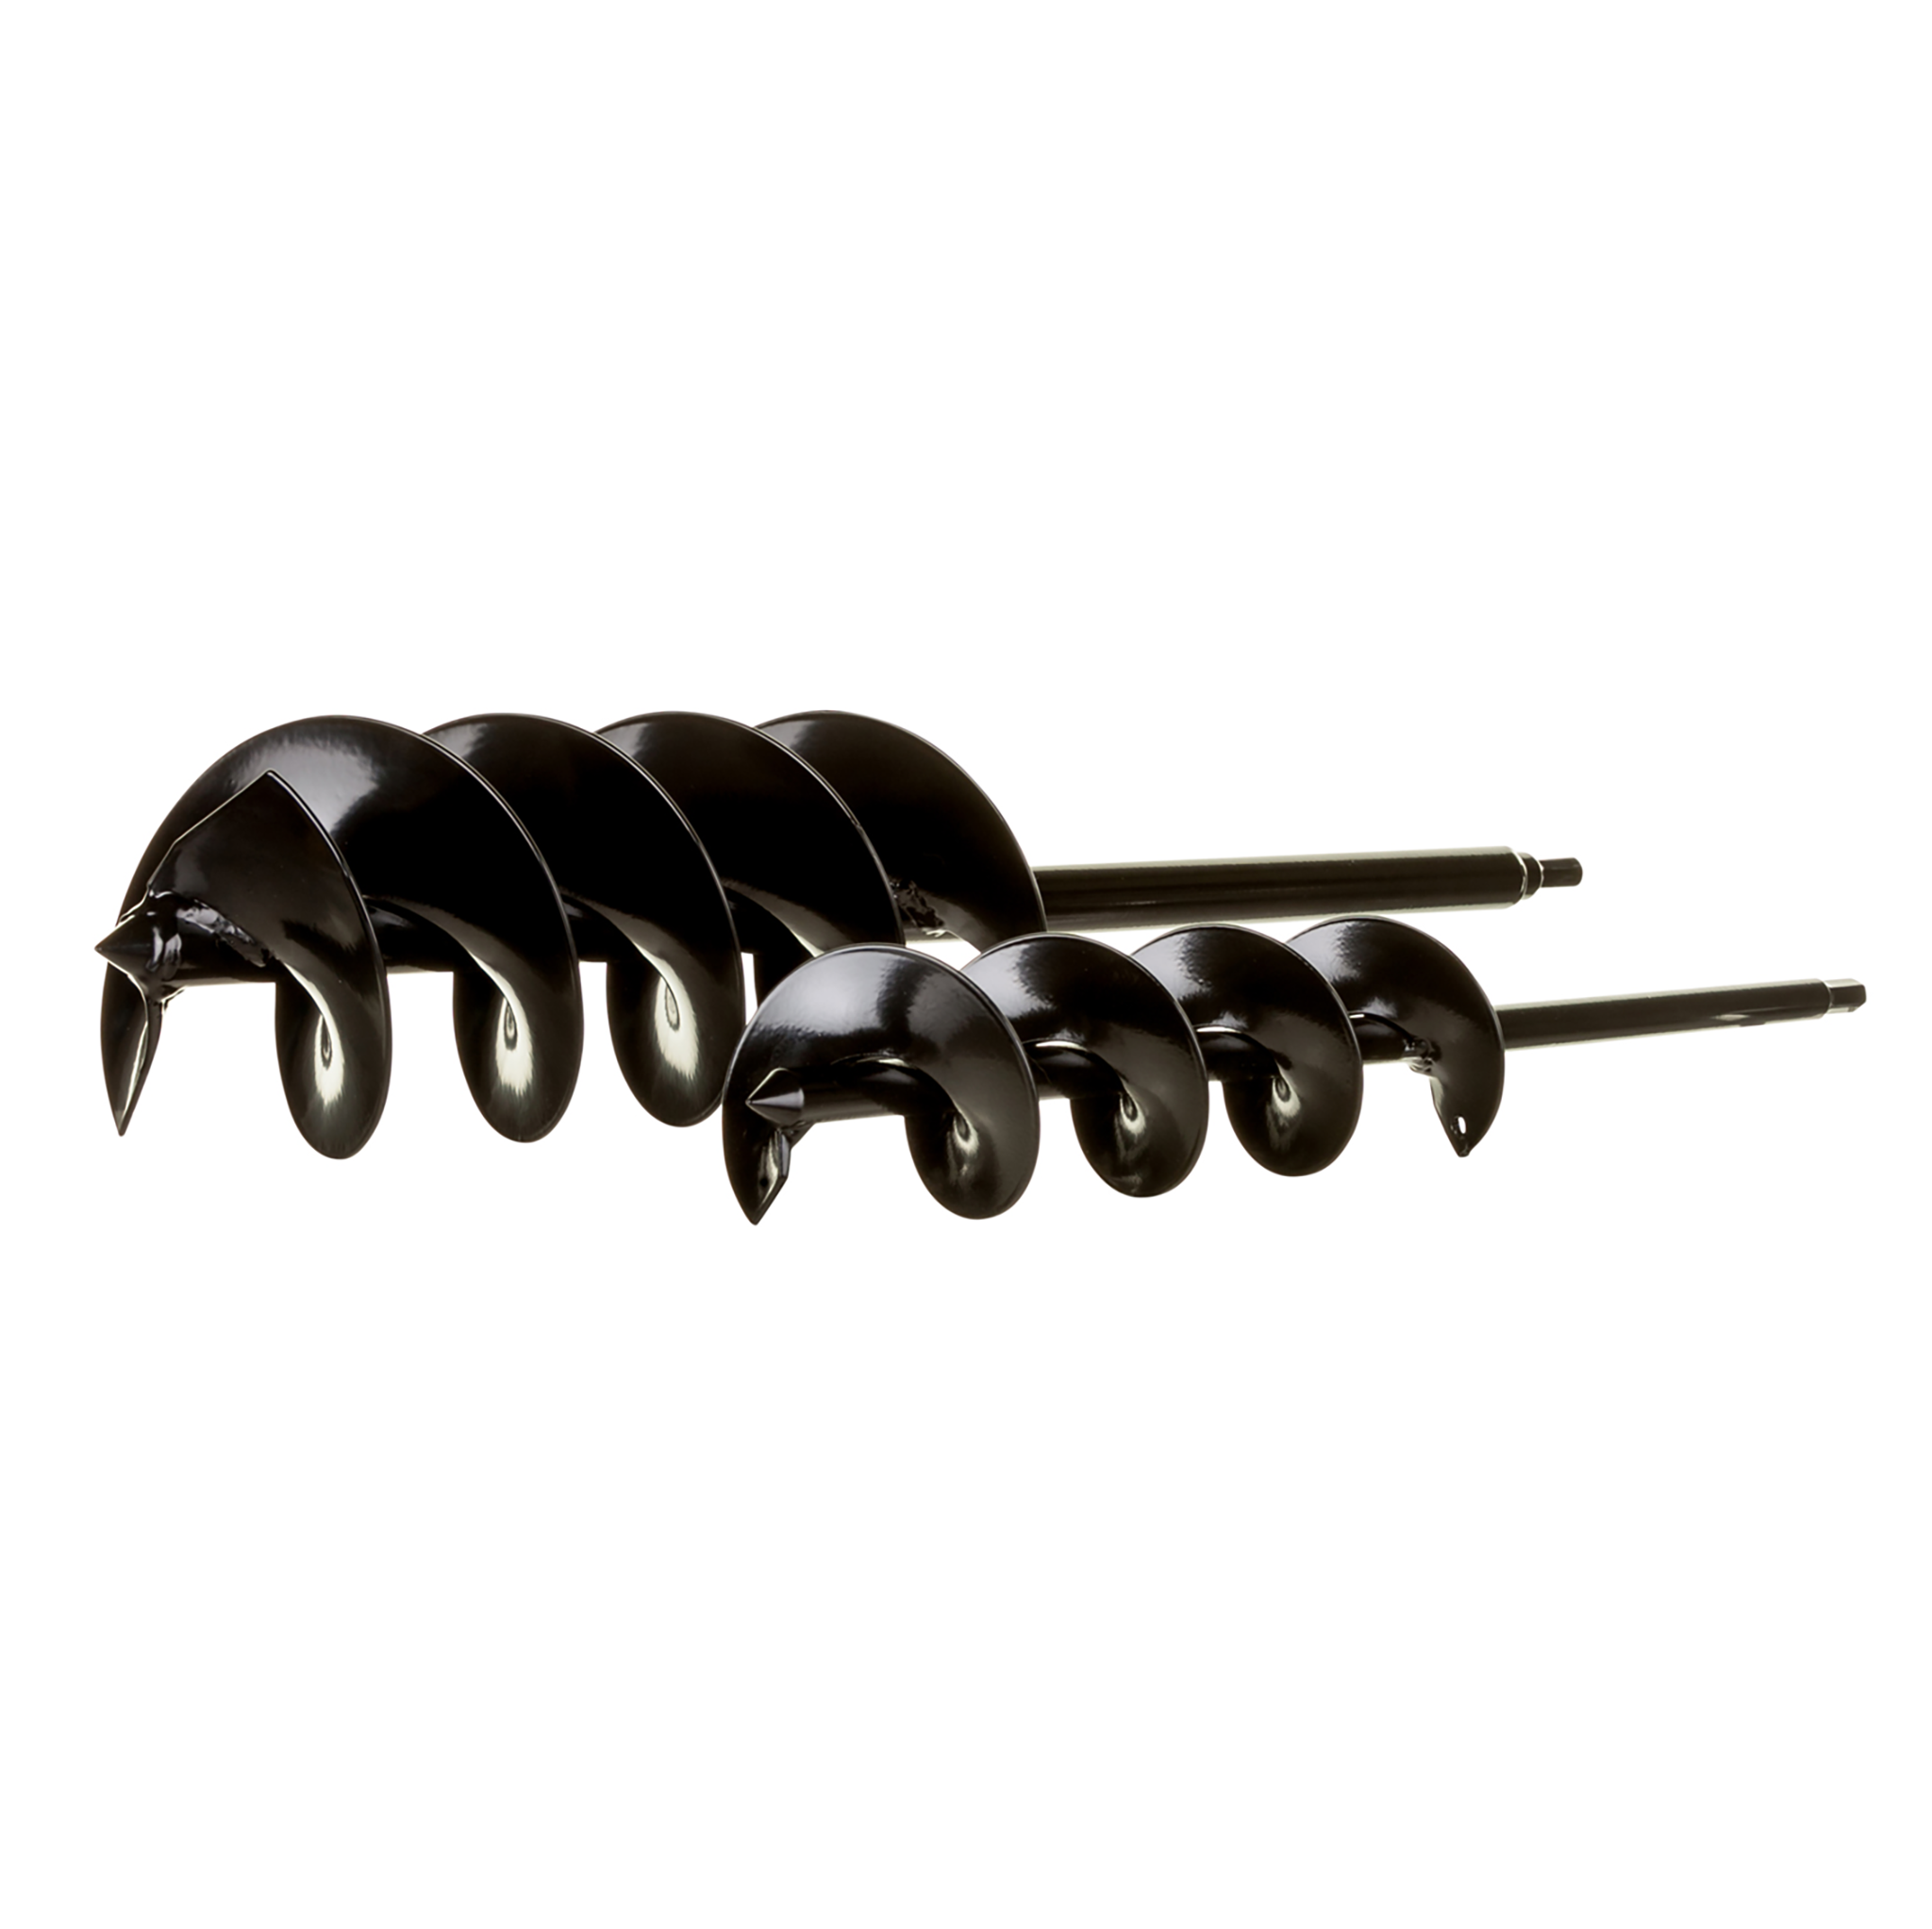
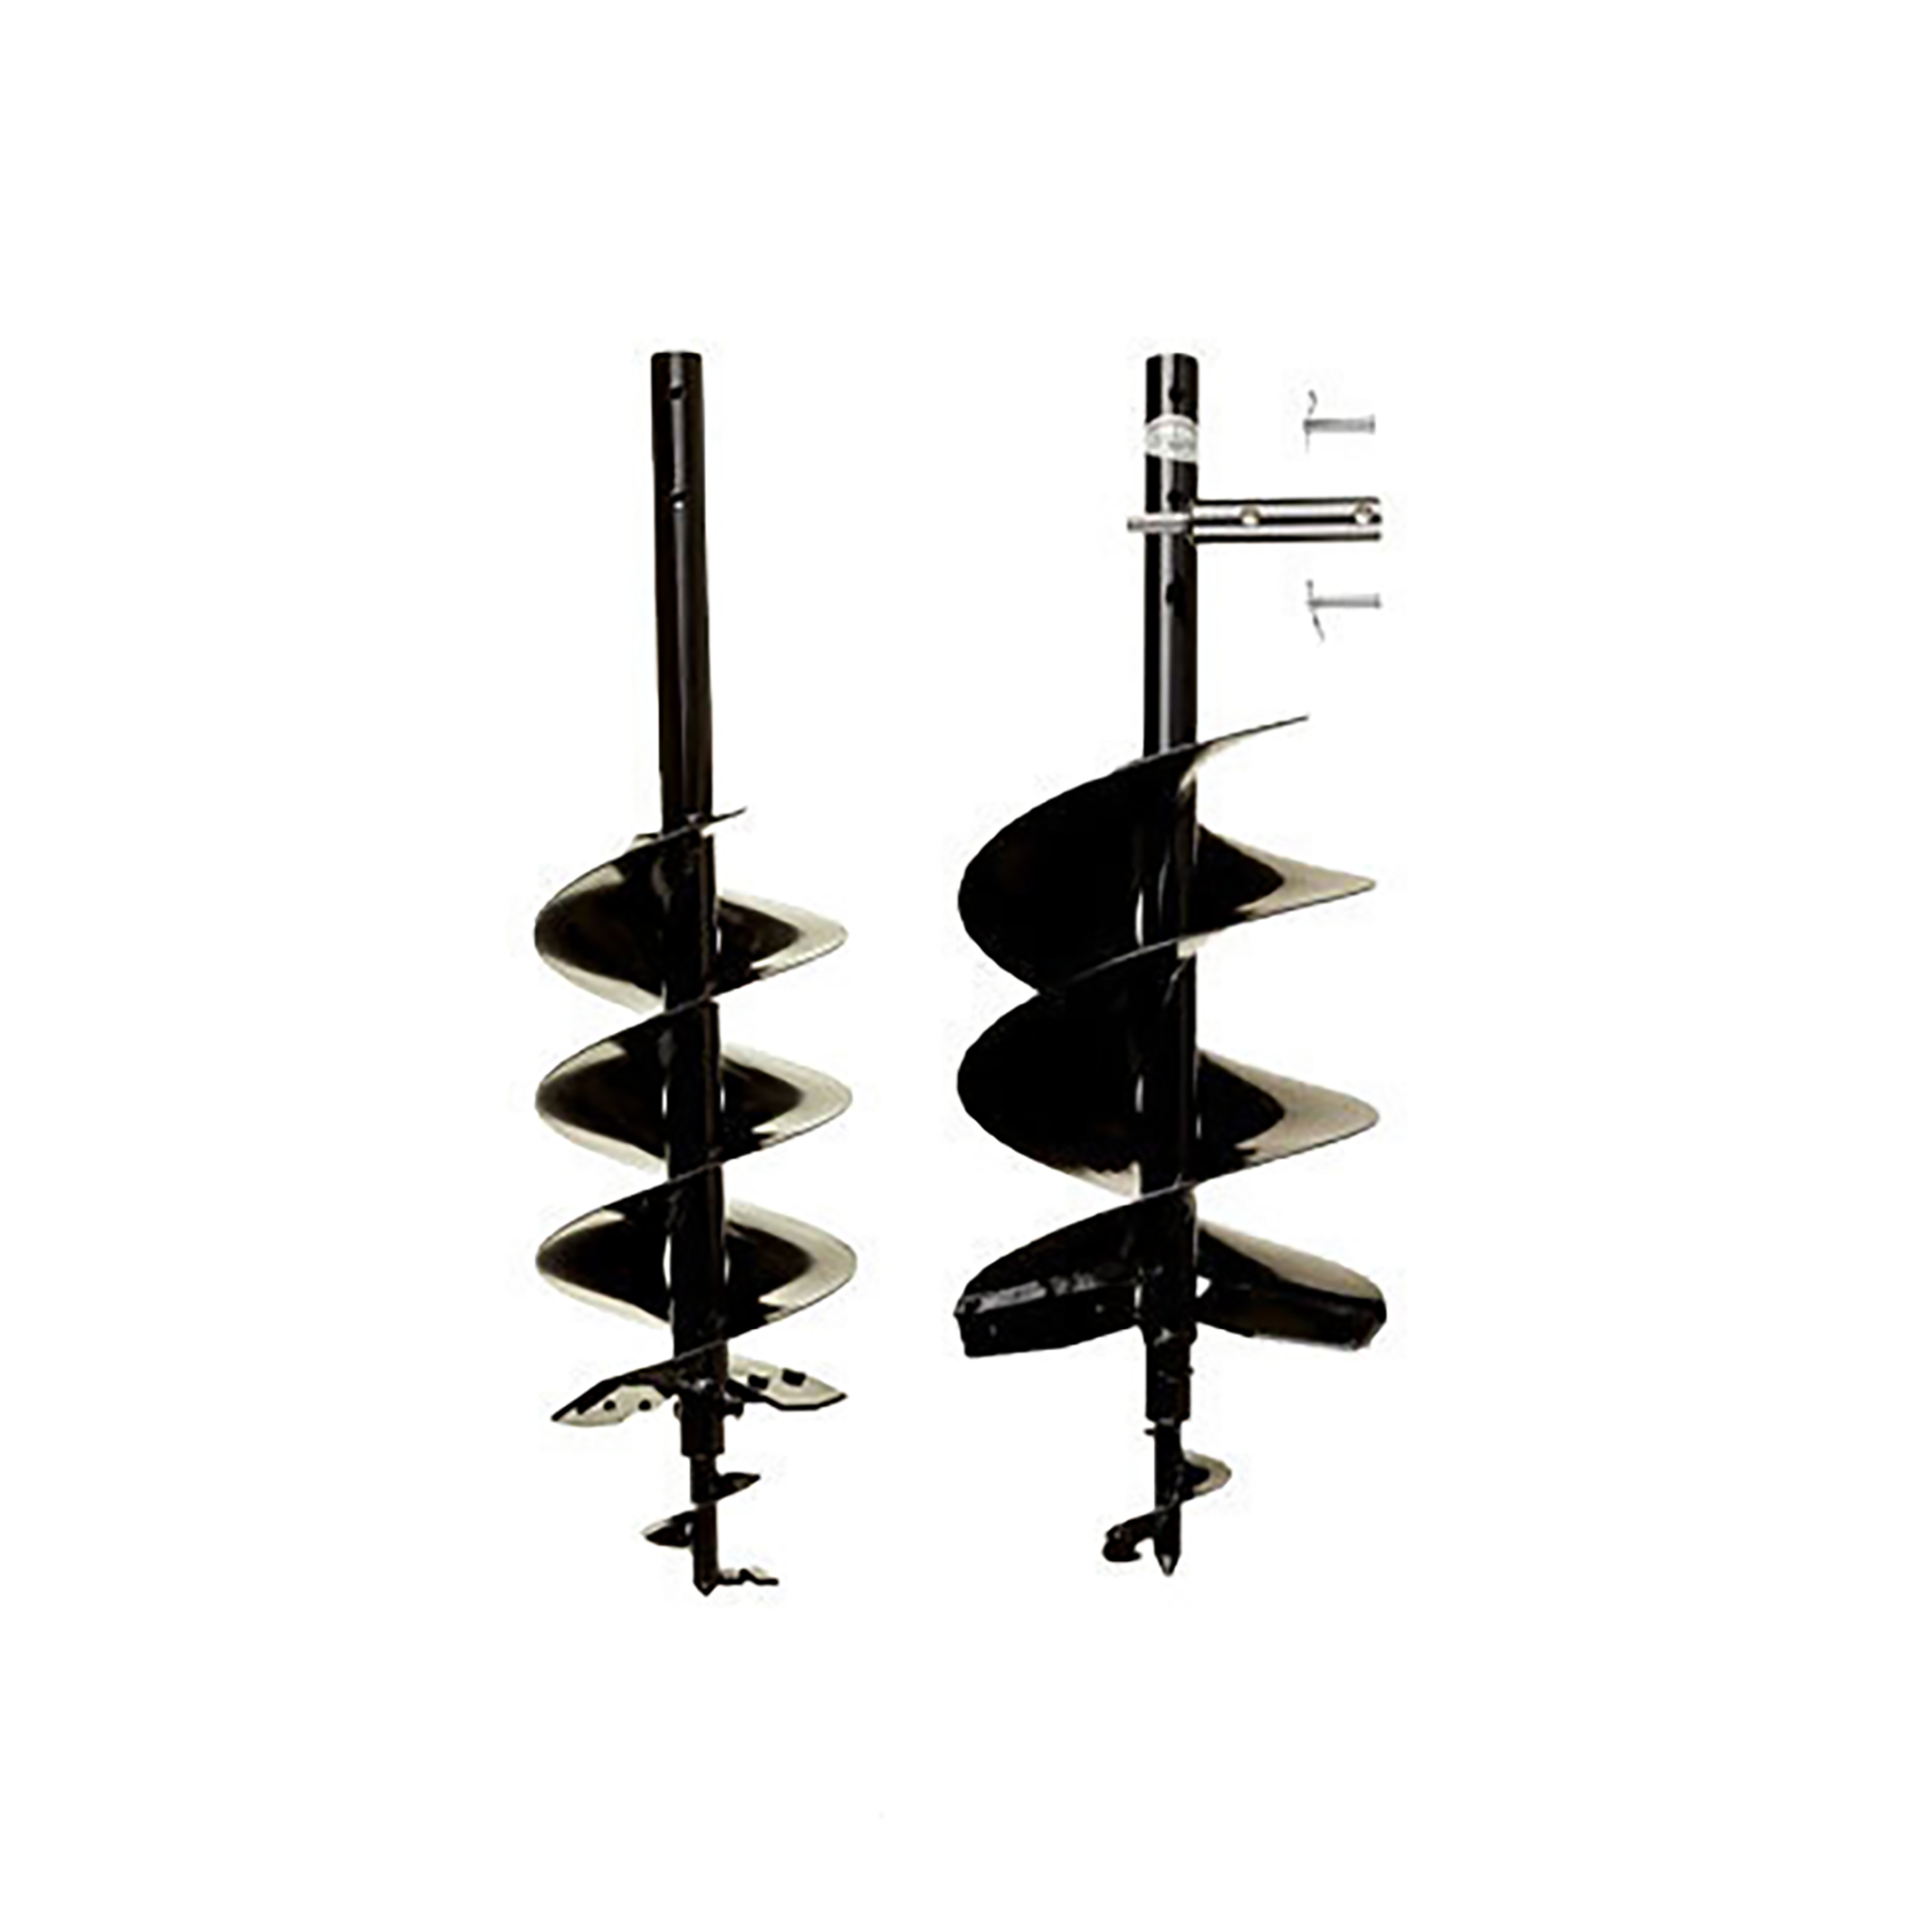
Power Planter’s Soil Moisture Probe Augers are the ultimate tools for precise and efficient soil moisture monitoring. Designed to seamlessly accommodate Aquaspy soil moisture probes, these American-made, hand-welded augers create deep, small-diameter holes, enabling accurate placement of your Aquaspy sensors. Built for longevity, these augers are crafted to withstand numerous probe installations, offering a reliable solution for monitoring soil hydration levels.

The versatility of these augers is a standout feature. Not only are they ideal for installing Aquaspy moisture probes, but they can also be employed for tree planting and fertilization tasks. This multi-functionality makes them a valuable asset for gardeners and agriculturists alike. Accurately monitor soil conditions with Aquaspy probes and ensure your plants grow strong and healthy, thanks to Power Planter’s Soil Moisture Probe Augers.

Video Reviews

Frequently Asked Questions

How Deep Do I Need to Install My Aquaspy Soil Moisture Probe?

The depth of installation can vary depending on the specific needs of your crops and soil type. However, for accurate readings, it’s generally recommended to install your Aquaspy soil moisture probes at a depth of at least 18-24 inches.

Are These Augers Compatible With Other Brands of Soil Moisture Probes?

These augers are compatible with the installation and size requirements of Aquaspy probes, but their versatile design often allows compatibility with other brands. We recommend checking the diameter of the hole required for your specific probe.

How Do I Install an Aquaspy Soil Moisture Probe?

Start by removing any loose debris and moistening the soil. Using Power Planter’s Auger, drill straight down until the auger fills with soil. Remove and clean the auger, then add water to the hole to ease further drilling. Continue until the hole is 2 inches deeper than your Aquaspy probe. Insert the probe to test the depth. Finally, connect the probe to its communication equipment and follow the manufacturer’s instructions to complete your network setup.