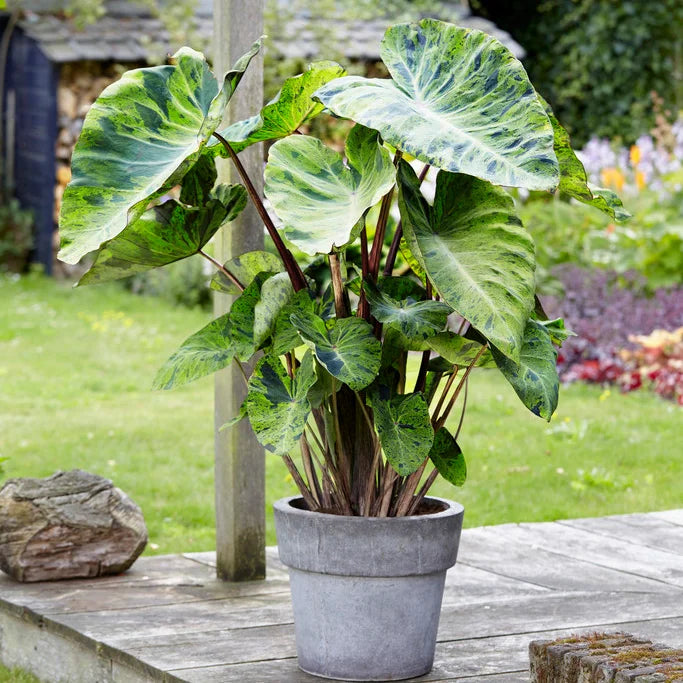
Elephant ear plants, with their broad, dramatic leaves, are a fantastic option for gardeners looking to add a lush, tropical touch to their outdoor space. These plants, known scientifically as Colocasia, Alocasia, and Xanthosoma, are celebrated for their easy care and striking aesthetics. When you see them, it’s no surprise as to why their popularity has soared in recent years, making them a staple in both traditional and modern landscape designs. In this article, we’ll provide you with all the information you need to plant elephant ear bulbs and enjoy them when the weather warms up.
The Power of the Bulb
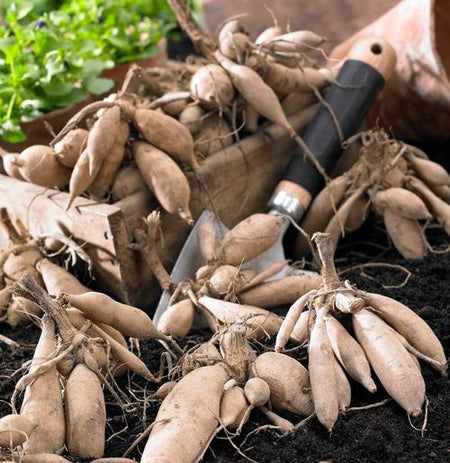
Each elephant ear bulb is a compact powerhouse, carrying within it everything the plant needs to start its life in your garden. Elephant ears thrive in the warmth and humidity, similar to their native tropical habitats in Asia, Africa, and South America. They range in size and color, offering variety for any garden design.
Even though these bulbs originate in tropical environments, they are great at surviving dormant periods in cold climates, only to return to their former glory with the arrival of warmer weather with just a little extra care.
Effortless Elephant Ear Bulb Planting with Augers
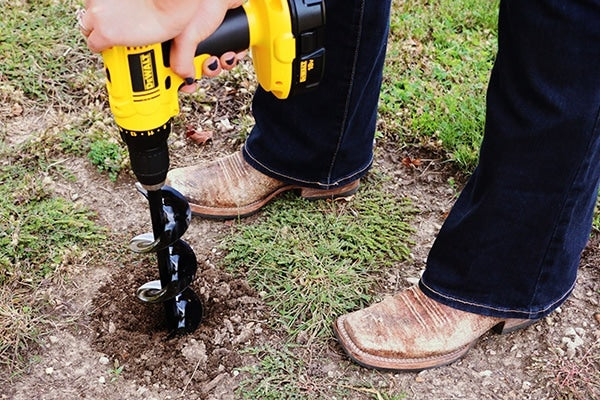
To ensure these tropical treasures take root successfully in your garden, Power Planter bulb augers are indispensable. These tools simplify the planting process, making it quick and effortless to create the perfect home for your elephant ear bulbs.
DIY Guru Auger (3”x12”): This size is a great all-rounder for gardeners planting multiple bulbs. It's long enough to reach the desired depth for larger elephant ear bulbs, which require deeper planting to establish a robust root system.
Extended Length Bulb Auger 3” x Standing Lengths: For those looking to plant a whole garden or landscape with elephant ear bulbs, a larger auger can save you time and energy. These extended length augers allow you to stand, easing the strain on your back while you plant your bulbs. They’re also ideal for preparing larger areas of the garden with enriched soil or for mixing compost before planting.
4”x28” Auger for Bulbs: Some elephant ear bulbs can be quite large and the 4-inch diameter of these augers gives the bulbs plenty of space to spread its roots and grow. The extended length of the auger also lets you drill deeper soil while standing, making it perfect for planting elephant ears and other larger bulbs.
Planting Your Elephant Ear Bulbs
Essential Preparation: Begin by gathering your gardening essentials. Ensure your auger attachment is compatible, clean, and attached to your cordless drill, which should be fully charged for seamless, effective digging.
Choosing the Perfect Spot: For the ideal growth of elephant ears, select an area that receives partial to full sunlight, similar to their native, tropical habitat. These plants thrive in conditions that are bright yet can tolerate shade. The soil in this area should be rich and consistently moist, characteristics essential for simulating a tropical environment.
Soil Preparation and Bulb Orientation: Amend the planting area with plenty of organic compost to enrich the soil, helping with growth and moisture retention. When it comes to planting the bulbs, a crucial detail is their orientation: the pointy side or the side where you can feel the beginnings of a stalk should be facing upwards.
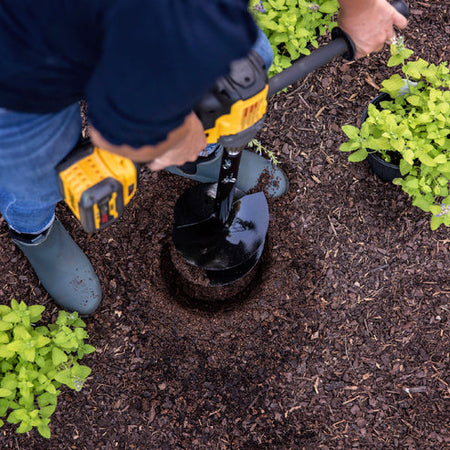
Drilling Holes and Planting Depth: Use the auger to drill holes approximately 4-6 inches deep, adjusting the depth based on the bulb size. Larger bulbs require a slightly deeper hole, as this helps support their more substantial growth. A good rule of thumb is to plant the bulb two to three times its vertical height deep in the soil.
Spacing for Growth: Elephant ear plants require ample space to flourish due to their large leaf span. Space the bulbs approximately 4 feet apart from each other. This spacing prevents overcrowding and ensures each plant has enough room to grow both above and below the soil.
Soil Firmness and Watering: After placing a bulb in its hole, backfill the soil, packing it firmly but not too tightly around the bulb. You want to eliminate large air pockets without compacting the soil so densely that its roots can’t spread out. Initially, water the area generously to settle the soil around the bulbs, providing them with the moisture needed to start the growing process.
Special Considerations for Different Types: While the general planting depth and orientation apply to most elephant ear varieties, some specific types may have slightly different requirements. For instance, smaller varieties might not need to be planted as deeply or spaced as far apart. Always check the specific instructions that come with your bulbs for the best results.
After Your Elephant Ear Bulbs Are Planted
Watering: Elephant ear plants love water. Keeping the soil consistently moist but not waterlogged is key to their health and growth. The large leaves evaporate a lot of water, especially on hot days, so regular watering is essential.
Fertilizing: These nutrient-hungry plants benefit from regular fertilization during the growing season. A balanced, slow-release fertilizer applied every four to six weeks can help promote vigorous growth and large, healthy leaves.
Mulching: Applying a thick layer of mulch around the base of the plants helps retain soil moisture, suppress weeds, and keep the root system cool. Organic mulch, such as shredded bark or straw, is preferable.
Pest and Disease Management: Keep an eye out for common pests like spider mites and aphids, as well as diseases such as leaf spot. Early detection and treatment can prevent these issues from impacting the plant's health.
Preparing Elephant Ear Bulbs for Winter
For gardeners in cooler climates, the arrival of fall signals the time to prepare elephant ear bulbs for overwintering. Here's how to ensure your bulbs are ready for their winter rest and primed for spring replanting:
Wait for the First Frost: After the first light frost has caused the leaves to die back, carefully dig up the bulbs using a garden fork or shovel. Be gentle to avoid damaging them.
Clean and Dry: Shake off any soil and gently clean the bulbs with water. Allow them to dry for a few days in a well-ventilated, dry location out of direct sunlight.
Store Properly: Once dry, store the bulbs in a cool, dry place, such as a basement or garage, where temperatures remain above freezing but below 50°F (10°C). Packing them in peat moss, vermiculite, or a paper bag can help keep them dry and prevent rot.
Inspect Periodically: Throughout the winter, check on your stored bulbs occasionally to ensure they are not drying out or showing signs of rot. Discard any that are damaged.
Looking Ahead
As winter gives way to spring and the soil begins to warm, it's time to start thinking about replanting. Getting new bulbs in the spring or prepping your stored bulbs are great ways to enjoy these beautiful plants. Using the power planter auger again will make this process quick and easy, ensuring another season of lush, tropical beauty in your garden.