Growing a flower garden offers rich rewards: beauty, aroma and the regular pleasure of getting your hands in the dirt and tending living things. That’s why it’s so worthwhile to learn how to start a flower garden. Are you interested in discovering more about how to start a new garden bed? Whether you’re a veteran planter or tiptoeing into the world of flowers, here are some basic tips for starting a flower garden you’ll love.
Step One: Plan Your Garden
When it comes to how to start a flower bed, you want to take time to carefully plan and strategize your garden. First, find the right spot. Look for a bright, sunny part of your yard that gets six to eight hours of full sun each day. Then, to decide which flowers to plant, research which types of blooms do well in your climate, as well as soil type and sunlight levels.
Consider whether you want annuals that bloom longer but must be replanted, or if you’d rather have perennials that bloom for shorter periods but return year after year. Will you choose a theme, such as a certain color scheme, an English garden, a wildlife garden or a space to attract butterflies? What layout do you want to try? Deciding on these questions early can guide you through the gardening process.
Step Two: Prepare the Bed
Once you know where you’ll be planting, the next step in how to set up a garden bed is to prepare the area for planting. To start, get rid of any existing grass, roots and weeds. You can clear space either by digging up the ground or by covering the area with layers of newspaper and compost. The newspaper method takes about four months before the paper and compost decompose, while the digging method can work right away.
Step Three: Test the Soil
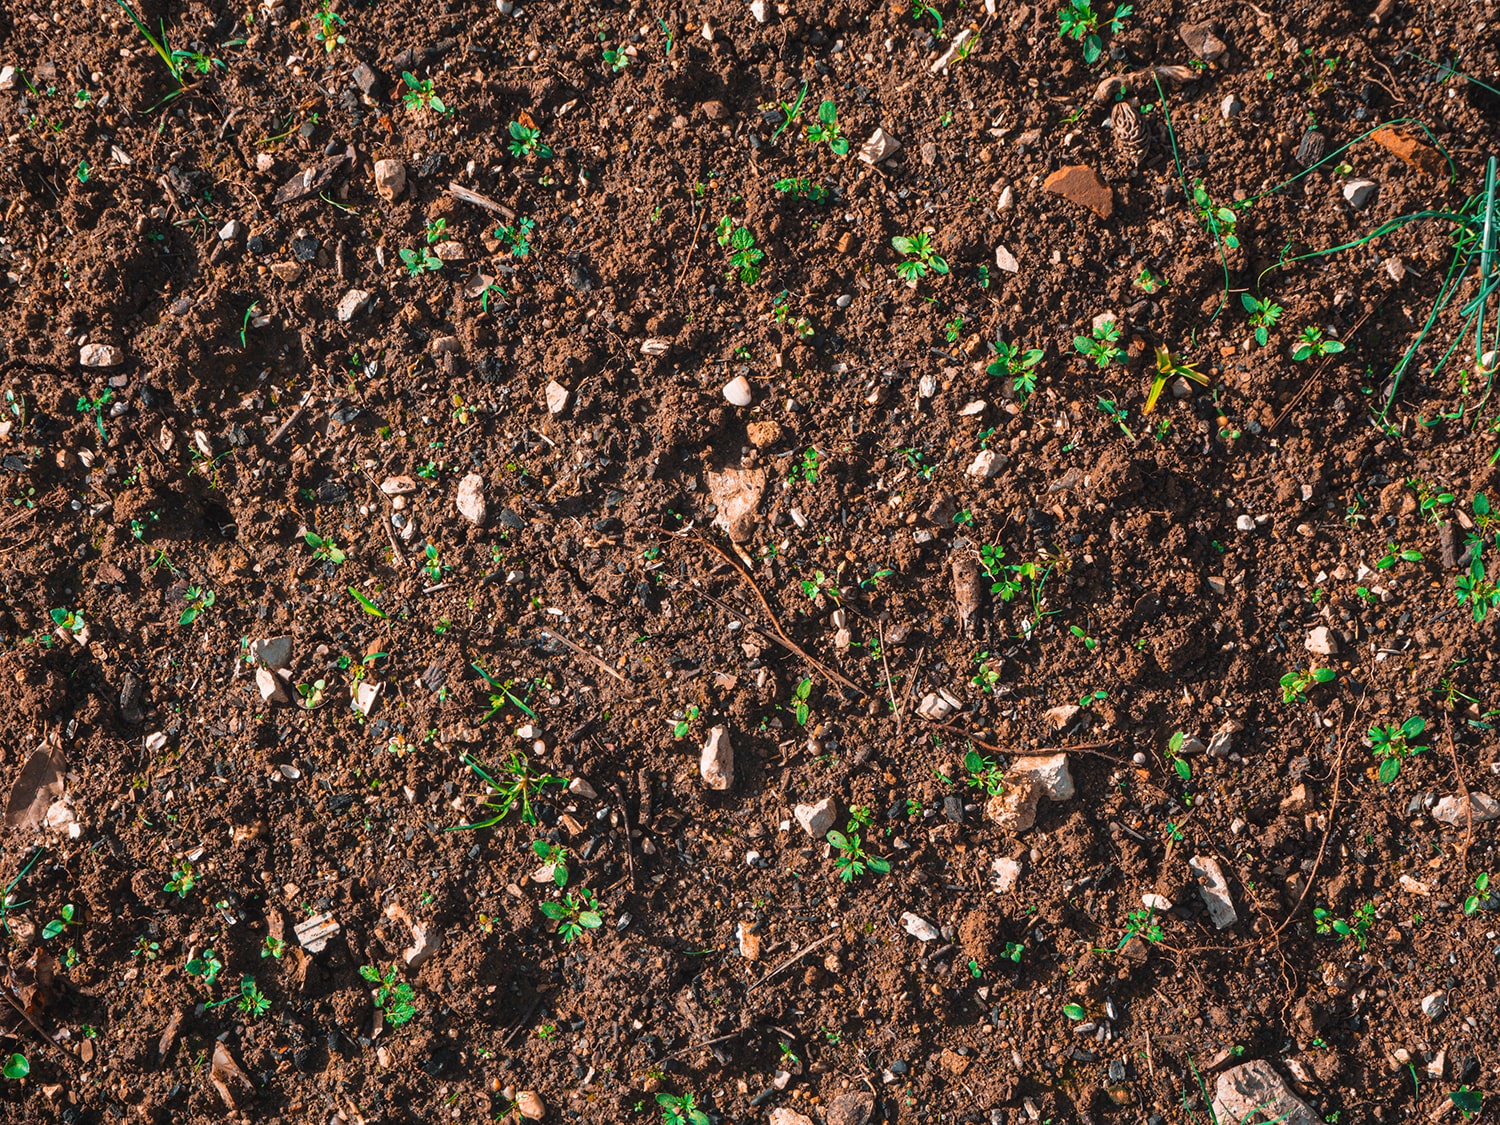
Generally speaking, the better the soil, the better the blooms — but what exactly does your soil need? A great way to find out is with a soil test. Your local county may offer soil testing, a soil lab may offer testing in your area or one can use an at-home soil-testing kit. Either way, you’ll discover what your soil lacks and how to amend it. In some cases, the dirt could be too acidic; in others, it may be too alkaline. What almost always helps, however, is organic matter. A few inches of compost, dry grass clippings, old manure or decayed leaves can make a big difference in your soil quality.
Step Four: Work the Soil
In addition to testing the soil, you’ll need to till or dig it. Working the soil before sowing seeds ensures that the ground is prepared to access the water and nutrients that will help your flowers grow. You can do this by hand with a sharp spade, or you can use a mechanical device such as a rototiller. While you want to gently turn the top foot or so of soil, you also need to be gentle enough to protect microorganisms and earthworms that exist in the material.
Step Five: Plant Seeds or Starters
Part of planting seeds successfully means knowing the right time to plant. Different flower seeds must be sown at various times. Pansies, for example, do well in cold weather, so you can plant them in late winter. Perennials, on the other hand, will grow best by being planted in midspring or midautumn. To know which seeds to sow when, check the packets you’ve purchased. Most will provide information on timing, as well as on depth and spacing recommendations.
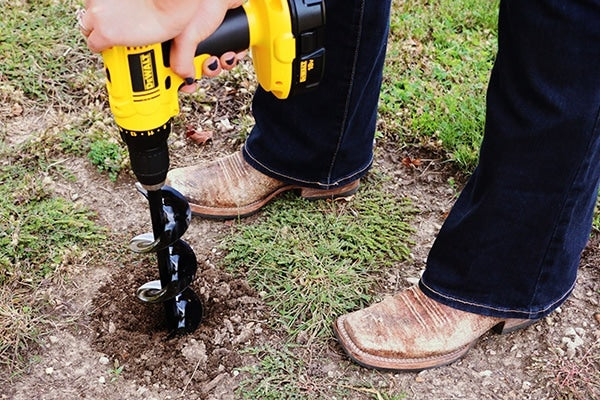
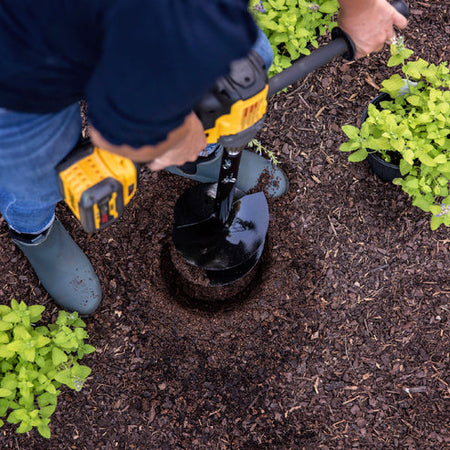
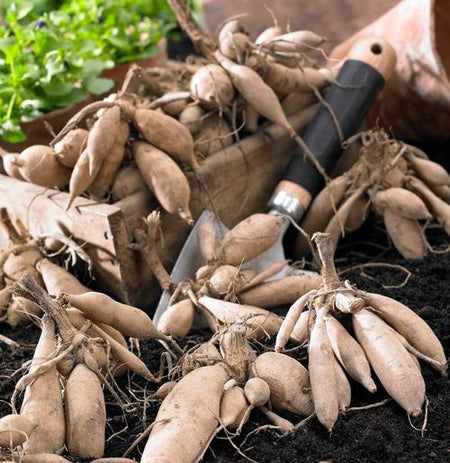
An alternative to planting seeds is to find young plants or starters at a local nursery or garden center. For these transplants, you’ll dig holes into your prepared bed (the easiest way is with Power Planter's garden augers). Then, remove plants from containers by pushing up from the bottom, set them in the holes and pat dirt around them and their roots. In case where the roots are knotted into a ball, you can untangle them with your fingers before planting. Water the soil thoroughly once the plants are in the ground.
Step Six: Mulch the Area
To protect your flowers against weeds and to seal moisture in well, consider laying mulch on top of the soil of your garden. A couple inches can insulate the dirt, which means less frequent watering and less weed growth.
Step Seven: Maintain Properly
Last but not least, practice proper care and tending of your flower garden. Plants are the most fragile in the seedling or transplant stage, so, in the beginning, keep them watered frequently to protect them from getting too dry. Early morning is typically the best time to water to minimize evaporation
As they grow, you can taper off frequency. Likewise, good gardening requires regular weeding, where you pull weeds before they can get big and stabilized, as well as being on the lookout for destructive bugs. If any of your flowers are especially tall or climbing varieties, you may need to add stakes or trellises to help them grow as they should.
While planning for and creating a thriving flower garden takes effort, it’s a labor of love with big payoff. Nothing compares to the joy of seeing one’s blossoms flourishing in the yard, knowing you’ve cultivated them yourself. To experience this magic at your property, use the tips above to get started.


