

We’re going to let you in on a (not-so) little secret. There’s a good chance you’ve been using your cordless drill the wrong way for years. Do you have a Makita, DeWalt, or Milwaukee drill that you purchased within the last 5-10 years?
These newer model cordless drills have a specific way they need to be tightened in order to properly secure the drill bit into the chuck. The only problem is, we have not been able to find any manufacturer or consumer information explaining what this process is, or how to do it, leaving us to wonder, ‘what gives?’.
Why wouldn’t drill manufacturers promote this method to buyers and consumers? No one seems to know for sure.
If you search YouTube for “how to insert a drill bit into a cordless drill”, you get about 14k hits. But here’s the rub … most of these videos actually show you the wrong way to tighten your drill.
Below is just one video illustrating the wrong way to secure your bit.
You might be wondering, just like we did, “How could this be wrong? It’s been done this way for years! I’ve seen my neighbors, friends, and handymen tighten cordless drills this way. Seems pretty standard to me.”
We thought so, too. But we were wrong.
Keep reading to learn the right way (and more importantly, the safest way) to secure your drill bit.
Locking Your Drill Bit into Place
There are countless other videos (many from credible sources) that show the same method for tightening the drill chuck around the bit as shown in the video above.
But – this method is wrong. And it’s not just wrong – it’s unsafe for anyone to operate a cordless drill without locking the drill bit into place. Your drill bit may become loose if you fail to secure the bit the correct way – which is to lock it into place.
You’ll also burn your hand if you tighten your drill the wrong way – not good!
We want to share this important safety information with our audience, as this carries a lot of clout when it comes to safely operating the augers we manufacture and sell.
How to Lock a Drill Bit in Your Cordless Drill
Check out this video we made that shows the correct way to tighten your cordless drill. This will prevent you from burning your hand and it will lock your drill bit into place.Here’s a step by step breakdown of how to do it:
- Insert the drill bit into the drill chuck.
- Tighten the drill chuck only by hand until it clicks several times.
- Rotate the chuck back the opposite way, until you hear and feel one, single click.
- Once you hear and feel the last click, the drill bit is locked securely into place.
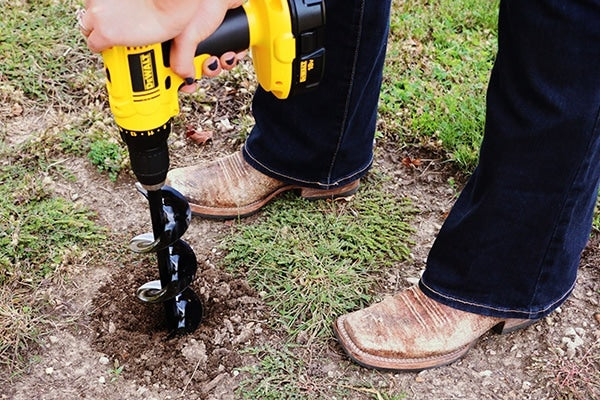
Power Planter sells 2 drills with this drill bit locking mechanism...
Safety is the No. 1 Concern
Locking your drill bit into place is an important part of operating your cordless drill safely. But what happens when you tighten it the other way – by hand?If the drill chuck is not locked when the drill is operated, the bit may become loose. This may cause your drill bit – or your auger bit – to actually come out of the drill chuck.
Not good, especially if you’re in the middle of drilling holes in the ground (or anything else, for that matter). However, when you lock the drill bit into the chuck by rotating the chuck back until it clicks once (see previous steps above), vibrations that occur during operation will not loosen it up.
Even better, you won’t burn your hand when you tighten your drill the right way.
It’s worth noting that this only works on some newer models of cordless drills. Older models (no one knows for sure when the switch happened) do not have the same locking mechanism. Keyed drill chucks require the use of a key to tighten them, so locking the bit by clicking doesn’t apply to these either.
Once you learn how to operate your cordless drill properly by locking the bit into place, check out our Auger Guide, where you can learn more about the drill requirements for powering our auger bits.