There are certain home gardening tips that all gardeners need to know. Chief among them are tips for transferring starter plants outdoors, whether those plants are from the greenhouse or plants that you started yourself. These tips apply to both vegetables and flowers — any annuals that you would plant in spring. Use these tips as a guide to make sure your transplants get off to a good start.
Make Sure to Acclimate Your Plants Properly
One of the best pieces of gardening advice centers on acclimating your plants. This is particularly important if you are moving indoor plants outside. However, it isn’t a bad idea for starter plants that you’ve purchased from a nursery, either.
To acclimate your plants, start slow. For indoor plants, gradually move them to a sunnier location within your home each day until you are ready to take them outside. If you are already keeping your starter plants in the sunniest spot in the house, then take them outside and place them in the shade. Plants grown indoors will not have been exposed to wind, so when you first take your seedlings outside, place them behind a windbreak to prevent breakage as they harden. Each day, expose your seedlings to another hour or two of sun and wind until they are strong enough to be planted. If your seedlings start to wilt at any point during the acclimation process, move them to a shadier spot or take them indoors again.
Make Digging Easier With an Auger Garden Tool
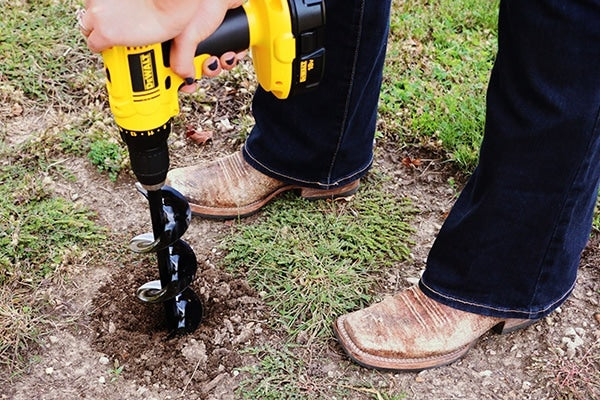
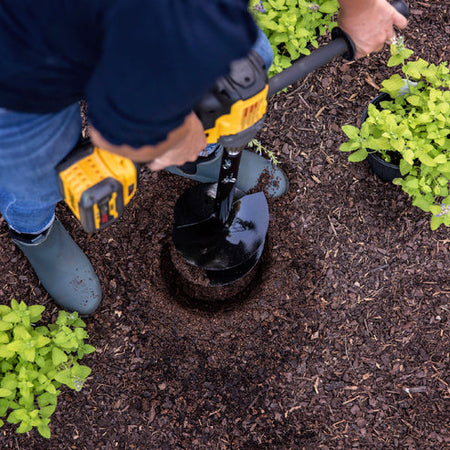
When you have a lot of flower and vegetable plugs to plant, a garden earth auger becomes an invaluable tool. The smaller augers that you’ll use for planting starter plants can be powered by a cordless drill. These augers will save you time as well as the strain that comes with spending hours bent over, digging small holes with a hand trowel!
Which size auger do you need? The 2-inch auger is perfect for annual plugs, while the 3-inch models work for everything from plugs to larger veggies, bulbs and other small planting jobs. Refer to our auger guide so that you can choose the ideal size for your needs.
De-Pot Your Plants Carefully
The general rule of thumb when you are transplanting any plant is to leave the roots as undisturbed as possible to prevent unnecessary stress. When it comes to the plastic starter packs that come from the nursery, this isn’t always the easiest task. To remove each plant safely, press the bottom of the plastic tray to push the root ball out, without inadvertently breaking the root ball apart. As you do this, grasp the plant carefully at the base, where the stem meets the soil, so that you don’t risk breaking the stem as the plant comes free. If your starter plants are in peat pots or another biodegradable pot, then simply plant the plugs — pot and all.
Cover Your New Transplants
Whether you’ve planted seedlings that you grew yourself or seedlings that you purchased from a nursery, it’s always a good idea to give your transplants a bit of shade for three to five days after planting. This helps to prevent transplant shock, which is a condition that causes plants to wilt soon after transplanting. Use a row cover or even prop a board securely over your plants to shield them from the sun while they adjust to their new home.
Monitor the Weather
The biggest threat to young seedlings is the weather. Of course, you’ll want to carefully monitor your planting times so that you aren’t putting starter plants outdoors too early. However, once you’ve planted them, you’ll still want to watch for unexpected cold snaps that can cause late spring frosts. If a frost is headed your way, cover your new plants with row covers, buckets, overturned plant pots or whatever you have on hand to keep the frost off and keep the seedlings slightly warmer overnight.If you know the right gardening advice, then transferring starter plants outdoors is easy — especially if you have the right tools to help make the digging and planting process easier!


