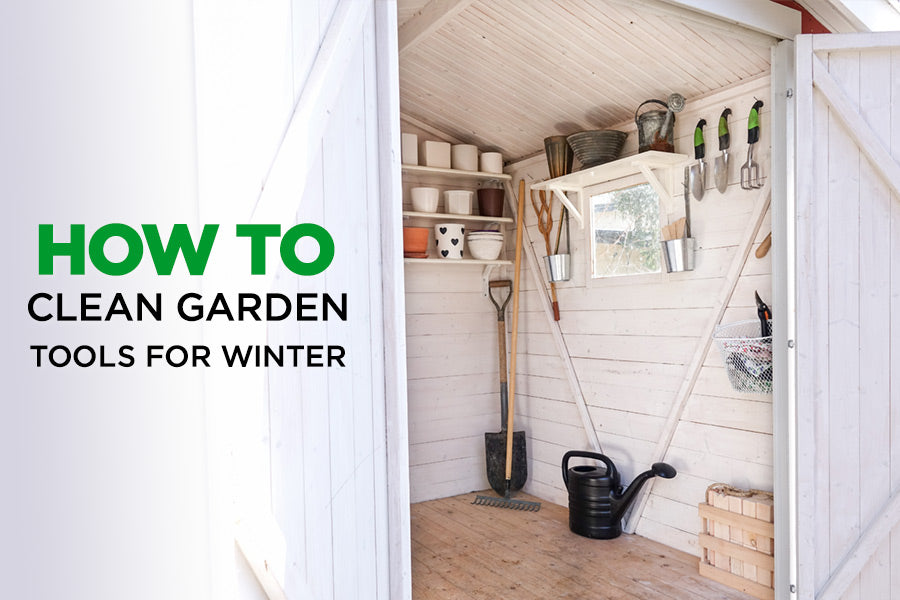
Though you may be tempted to kick back and relax after a long planting season — you’ve earned it — there’s one last thing you should do before heading inside. By giving your garden tools a proper deep cleaning, they’ll work better and last longer.
Use this tool care checklist to learn how to clean garden tools for the winter.
1. Clean and dry your tools
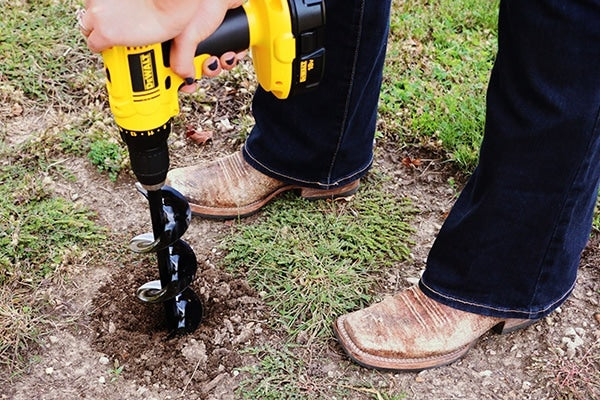
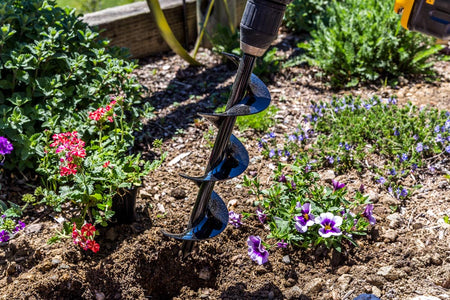
Before you can store your tools — like your garden augers and spades — you need to get rid of some of their grime and mud:
- Hose them down, especially the digging and cutting ends with more buildup.
- Scrape off hardened, caked-on muck with a scraper, wire brush, or even baking soda and steel wool.
- Soak the tools in a bucket of hot, soapy water (dish soap is best) for 15 to 20 minutes. (A bleach-water solution or white vinegar also works.)
- Rinse and dry to lessen the likelihood of rusting.
- Apply a thin layer of mineral machine oil on your auger to prevent rust, especially if you live in a humid area.

2. Wipe down wooden tool handles
Use a damp cloth to wipe down your wooden tool handles. Or replace them if they’re severely damaged and cracked. Then, to prevent them from splitting and drying out during the winter, rub linseed or mineral oil on them. These types of oils repel water and keep wooden tool handles smooth.
3. Deep clean your pruners and shears
Disassemble your pruners, shears, and other types of heavy-duty scissors. (Though it’s an extra step, tool disassembly ensures you’re getting in all its nooks and crannies.) Wash the parts in warm, soapy water and soak them in a mix of vinegar and water, making sure to scrub each part with steel wool to remove any rust.
Rinse the parts and let them dry. Soak them in bleach and water to sanitize them, and rinse and dry them again. Finally, rub the parts down with boiled linseed oil before reassembly. (While not actually heated or boiled as the name suggests, boiled linseed oil is chemically modified with hot air and various additives to encourage faster drying. Word of caution: Though boiled linseed oil is best for lubricating metal tools, it’s highly flammable, so be sure to follow the instructions on the label.)
4. Sharpen your tools
Dull tool blades require more pressure to use, making your job harder and more dangerous, and increasing the chances they’ll slip from your grasp. Blunt blades also rip and severely damage branches instead of cleanly cutting them, which makes them more susceptible to infection, freeze damage, and even death.
To ensure your pruners and shears stay sharp, use a specialized tool like a garden tool sharpener or sharpening stone. Just push the sharpener in the same direction across the blade, not back and forth — preferably with heavy gloves and eye protection for added safety. For quick touch ups to smooth edges on non-cutting tools, like hoes and spades, use a sharpening file and then a sharpening stone.
5. Store your tools in an oil-sand mixture
Knowing how to clean garden tools for winter doesn’t matter unless you store them properly. Good storage conditions help prevent tool warping, rust, and degradation.
Try this technique. In a large pot or bucket, mix dry sand and a lubricating oil, like linseed oil or WD-40, until the mixture is moist. (Keep in mind that motor oil can contaminate your soil and vegetable oil sours in hot temperatures.) Stick the metal ends of your tools into your oil-sand mix, and place the bucket in a dry place for winter storage.

Learning how to clean garden tools for winter doesn’t have to be stressful or laborious. In fact, with the right tips, oils, and sharpeners, it can become an annual ritual that leaves you feeling relaxed and prepared for the next planting season.


